🎵Audio Editor Quick Start Guide
Master the core process from import to export in just 5 minutes
Quick Start:
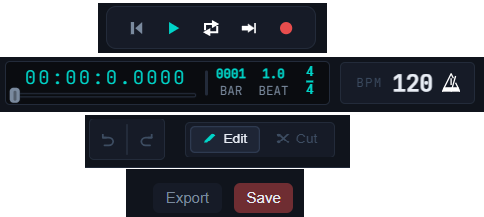
Time Display, BPM Settings, Save & Export Buttons
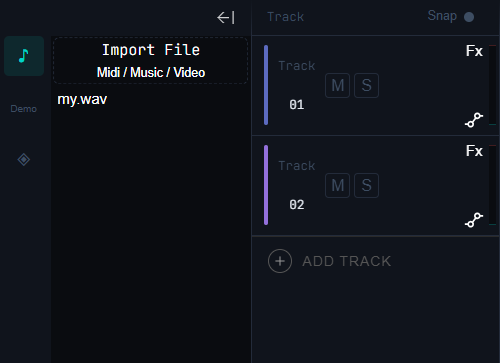
Import File, Add Track
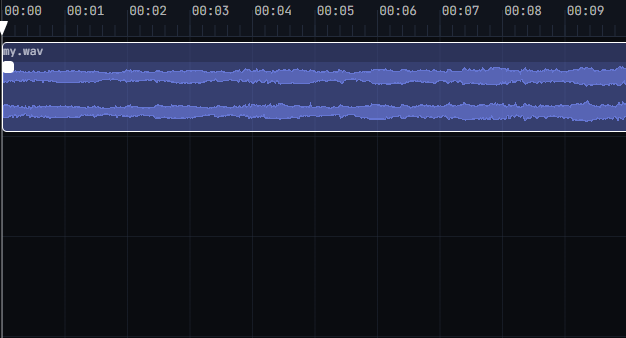
Display Audio Waveform, MIDI Notes and File Name
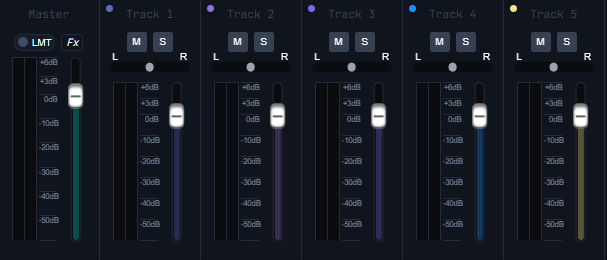
Volume & Pan Adjustment
Operation Steps
Step 1: Import Audio File
Click the "Import File" button on the left function panel. Supports common formats such as MP3, WAV and MIDI.
📍 Operation Position:Left Panel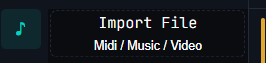
Step 2: Add and Manage Tracks
Click the "Add Track" button on the left to create a new audio editing layer. You can stack multiple tracks for mixing.
📍 Operation Position:Left Panel / Middle Waveform Area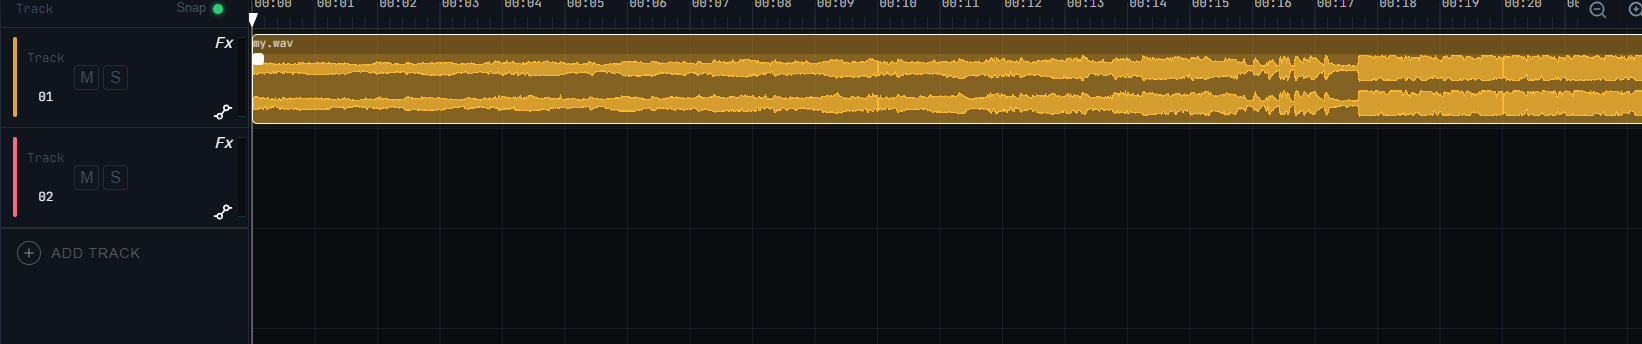
Step 3: Add Effects and Adjust Parameters
Click the (FX) button on the page to open the effects setting panel
📍 Operation Position:1. Click the (Fx) button; 2. Click the add (+) button to add desired effects; 3. Adjust effect parameters
Step 4: Audio Editing and Cutting
Switch between audio editing and cutting modes, track snapping, mute, solo and automation operations
📍 Operation Position:1. Switch between track editing and cutting mode; 2. Soft snap: align audio tracks with timeline or adjacent clips while moving; 3. Toggle solo or mute for current track (Note: Settings apply to exported files); 4. Configure automation parameters (Volume, Pan, Pitch)
Step 5: Save and Export
Final StepAfter editing, click the Save button at the top to save your project, or click Export to generate the final audio file.
📍 Operation Position:Top Right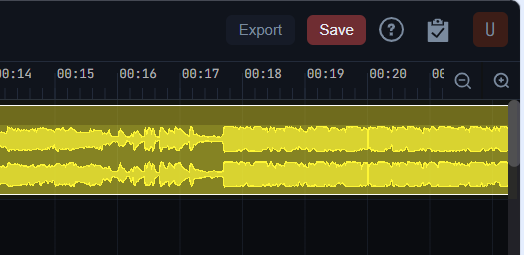
🎉 Congratulations! You have completed all beginner guides
Now you can start editing your first audio project.